JUMP TO
This Raw Vegan Winter Mug reminds me of the first the winter that we spent in Norway. It was the year that we finally had the courage to make a positive change towards our health. And it all started with simple desserts like this one (and training with dumbbells at home, daily walks in nature, more family time, and so on … but that’s another story).
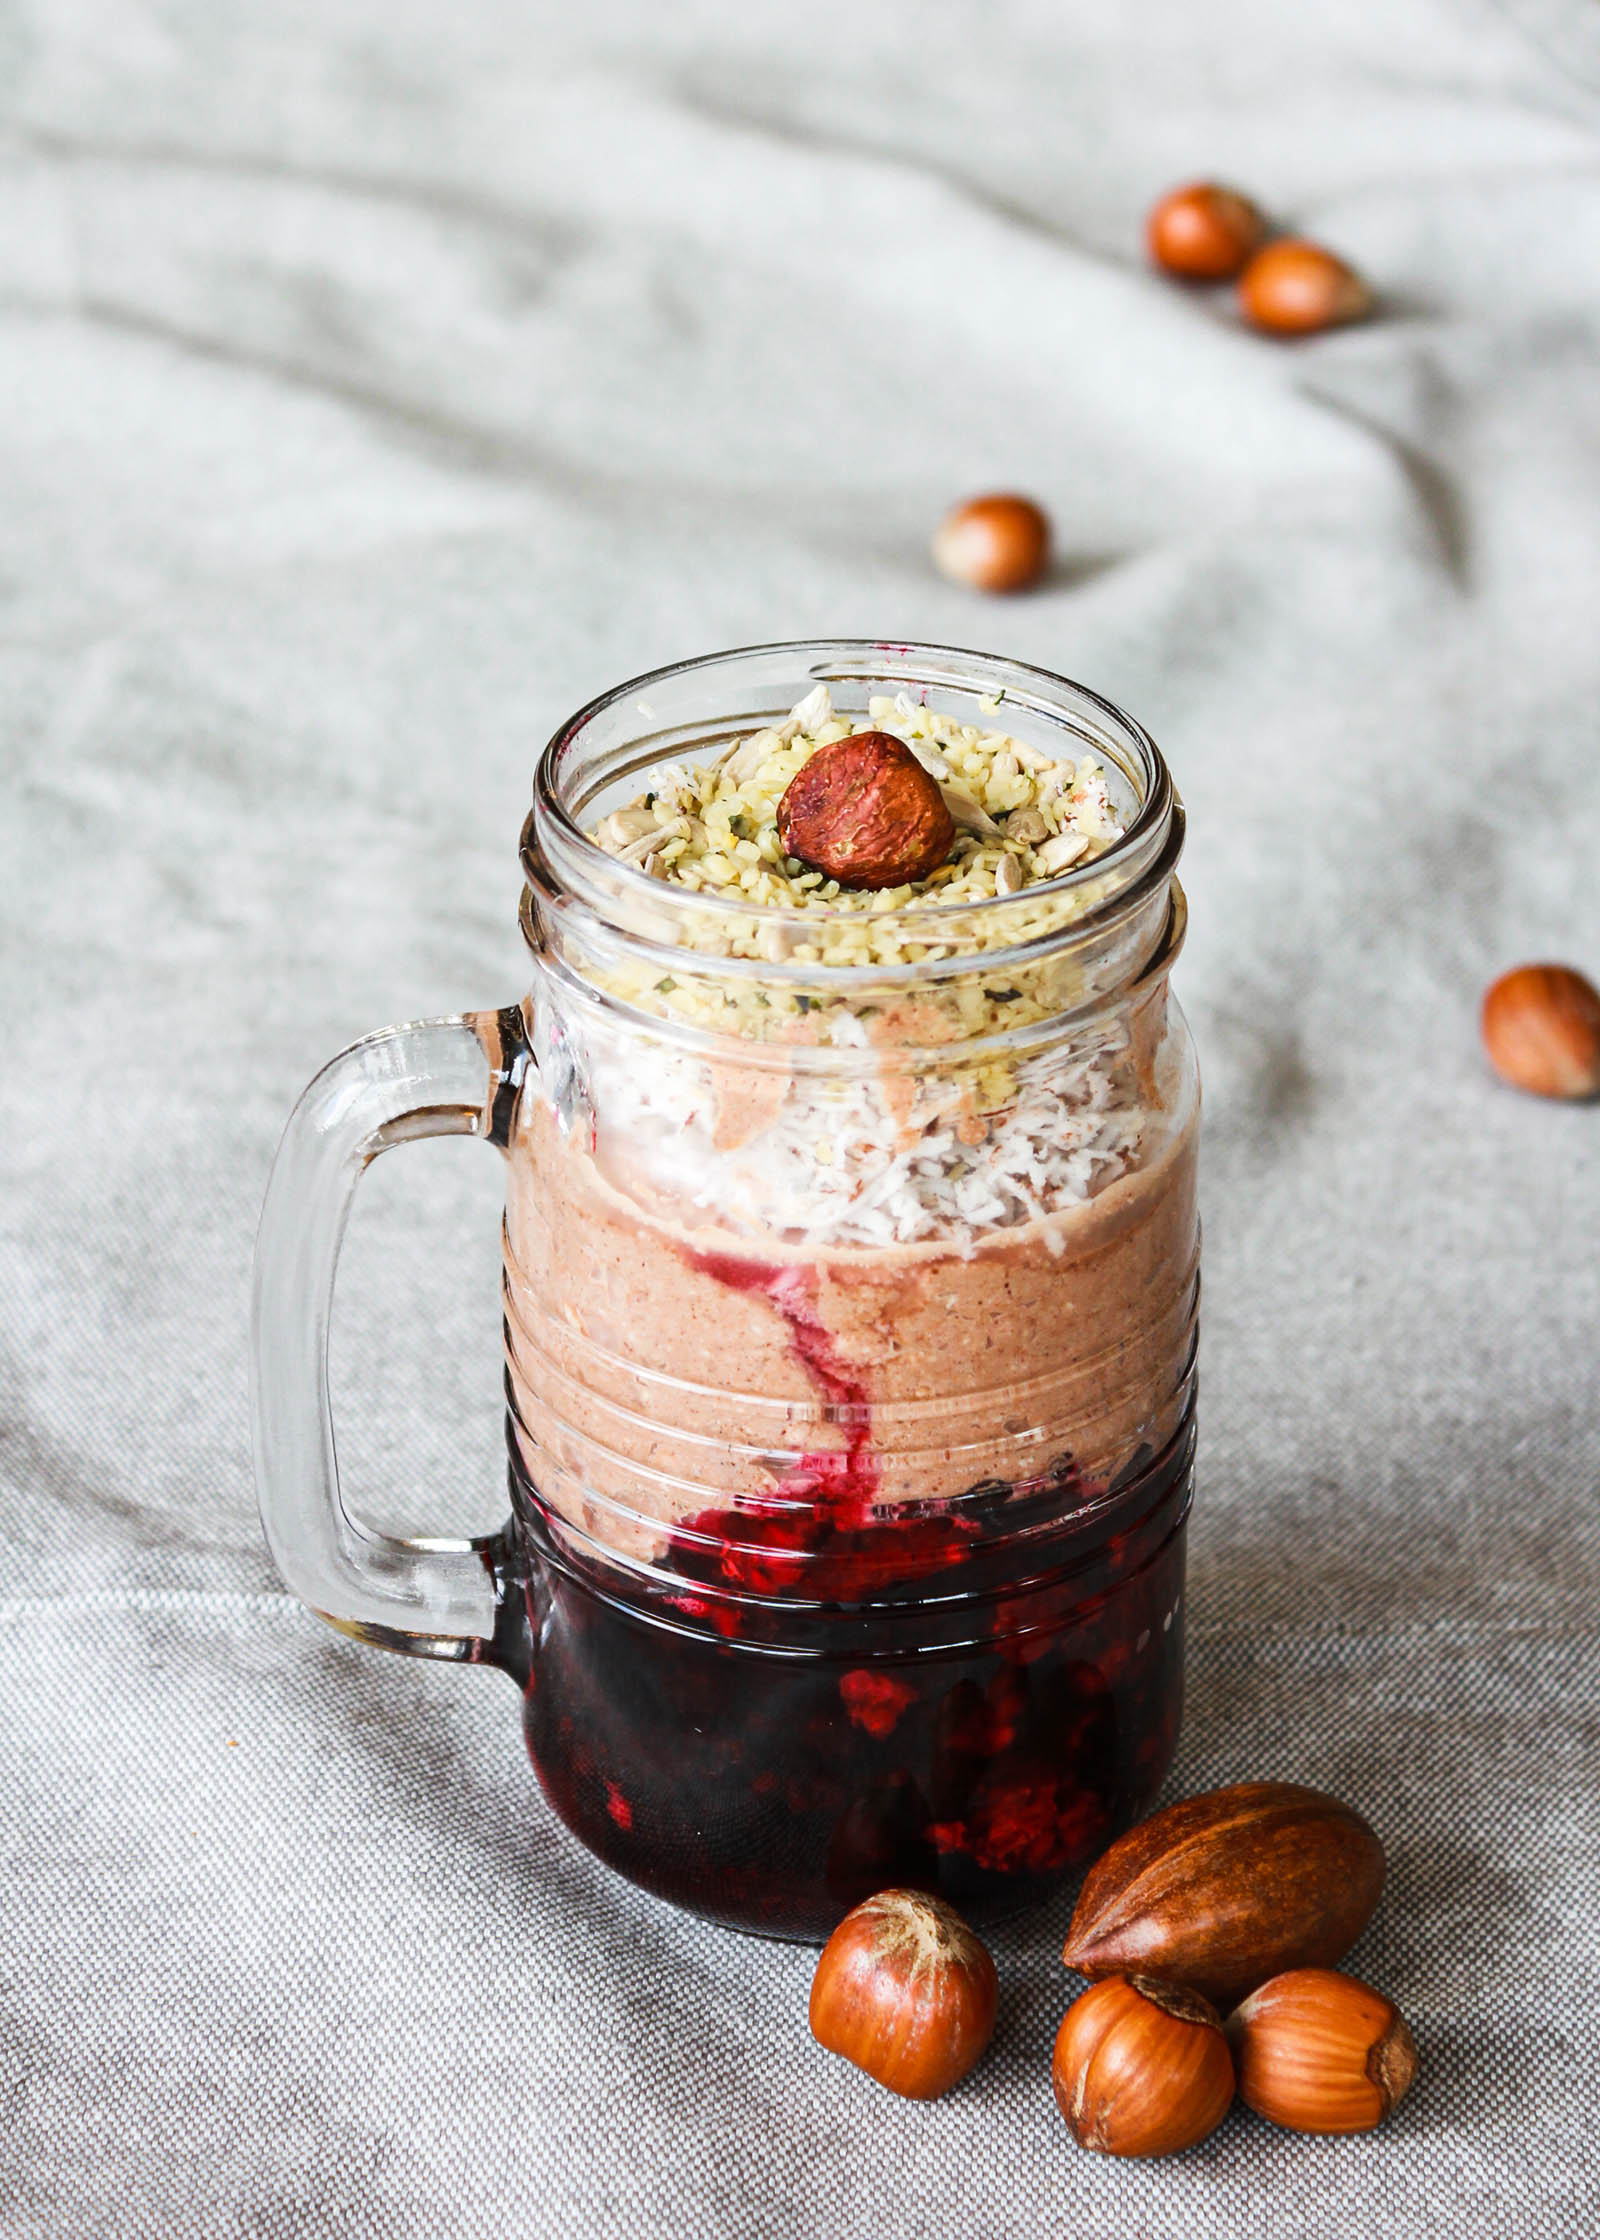
What makes this raw vegan dessert special?
For me, this simple raw vegan dessert is all about learning how to prepare a simple and healthy dessert by yourself, instead of buying something from the store. It’s all about appreciating simple ingredients, combining them into a dessert of some kind (hopefully delicious) or using your creativity to adapt a recipe based on your own preference.
It’s those small steps that will get you to your destination and this recipe can be one of those small steps. This is especially true if you’re a beginner when it comes to preparing healthy simple desserts at home.
This raw vegan winter mug was:
Easy
Creamy
Refreshing
Low-carb
Sugar-free
Vegan
Natural
Surprising
Unique
Delicious
What goes into this raw vegan winter mug?
This Raw Vegan Winter Mug is so easy to make and only requires a few basic ingredients:
- Blueberries
- Coconut Cream (or Coconut Milk)
- Cacao Powder
- Dried Figs
- Vanilla (optional)
- Shredded Coconut (or Coconut Chips)
- Hemp Seeds
- Sunflower Seeds
- Hazelnuts
This simple dessert was inspired by my Simple Keto Whipped Cream Dessert but this time I decided to replace whipped cream with a vegan coconut and chocolate mousse (with cacao and dried figs). Trust me, it’s even better now!
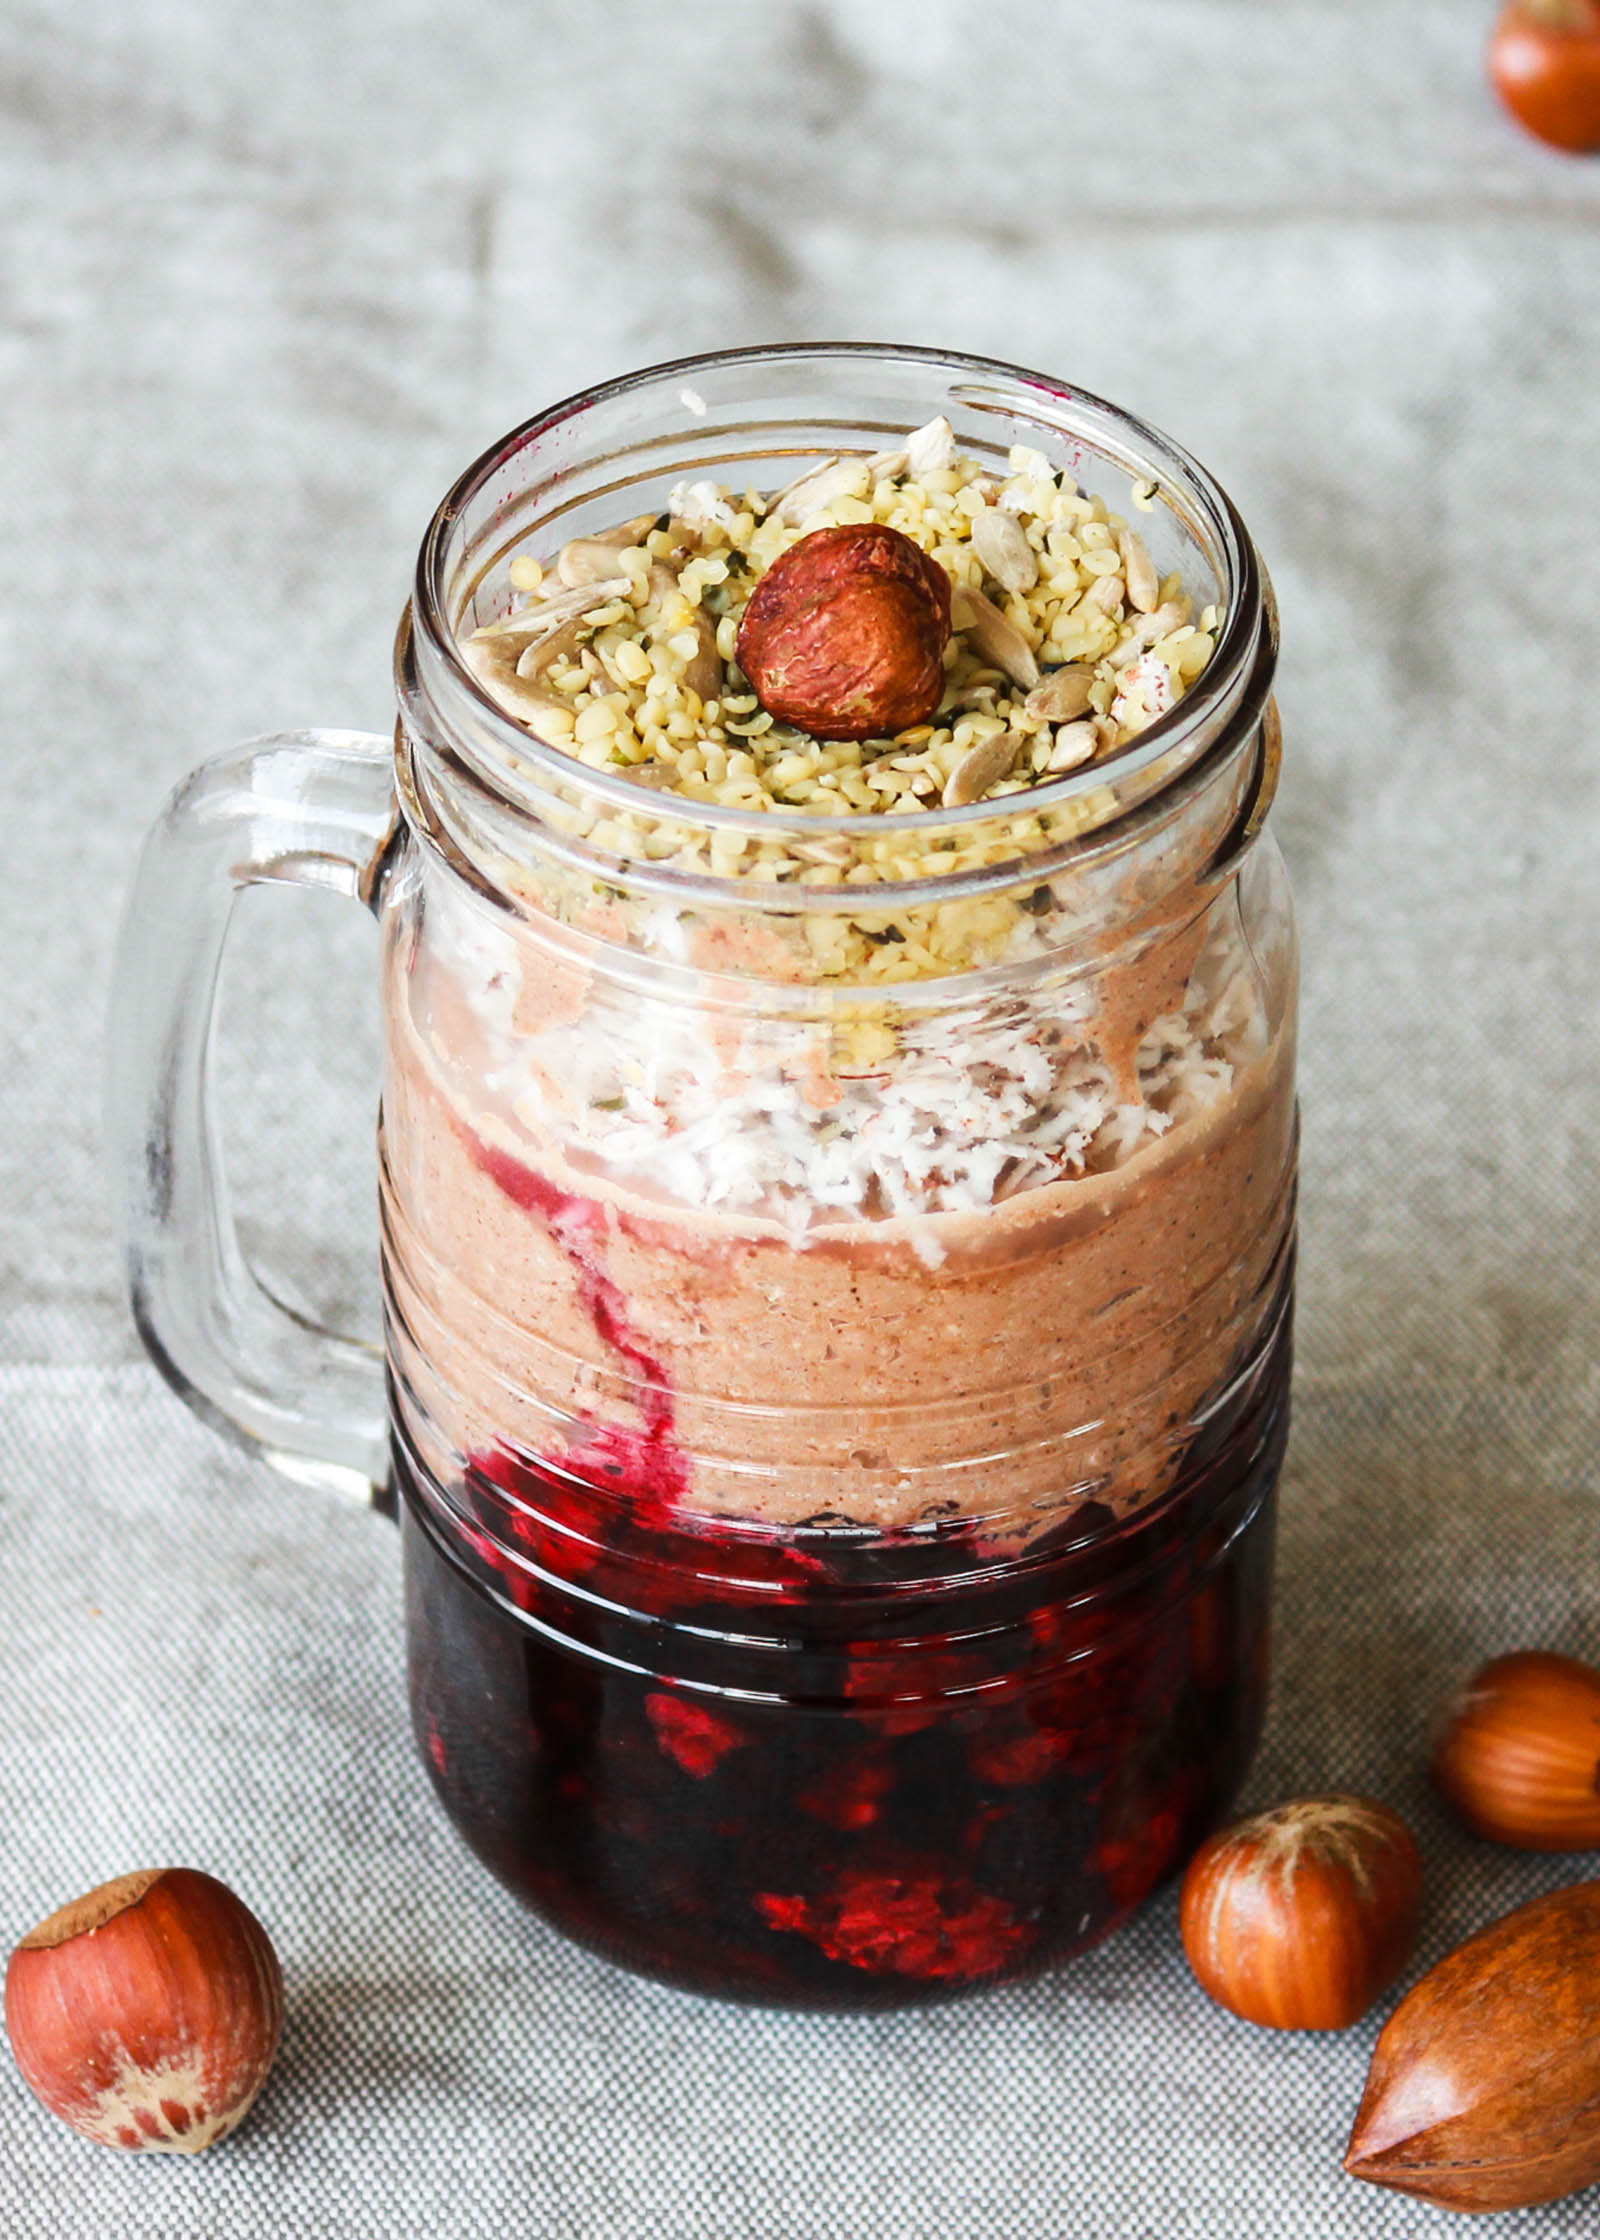
This vegan dessert has 3 layers
This dessert is perfectly sweet, creamy and chewy, and it’s broken down into 3 layers, as follows (find complete details in the recipe card):
- Bottom layer is made of frozen blueberries.
- Middle layer is made of an easy to make (and delicious) coconut-chocolate mousse sweetened with dried figs.
- Top layer is made of raw nuts and seeds, as follows: shredded coconut, hemp seeds, sunflower seeds, one hazelnut.
And the best part is … you don’t need any of those big kitchen tools or any kind of cooking experience. Just be yourself, follow the recipe and have fun!
How to make coconut cream
In case you don’t have coconut cream at hand, you can easily prepare your own from a can of coconut milk. Just follow the steps below:
- For best results use full-fat coconut milk but keep in mind that some brands will not work (you’ll have to experiment and see which brand works for you).
- Place a can (400 ml) of coconut milk into the fridge overnight.
- Don’t shake the can before opening. The coconut milk will separate into coconut cream and water.
- Transfer the coconut cream to a bowl and throw away the water.
- The extracted cream will be used for the mousse in our recipe.
Tips for making this recipe perfectly
- When it comes to putting together this dessert, feel free to match the quantities of berries, coconut mousse, nuts or seeds, according to your own needs and preference. Remember that desserts like this one are all about keeping things simple and fun in the kitchen.
- Feel free to use the kind of berries you like. I used frozen blueberries but you can also use raspberries, blackberries or cranberries. Be creative or use the berries that you like most.
- Instead of the hazelnuts used on top, you can also use other types of nuts. How about using pecans, walnuts or almonds?
- We used dried figs as a natural sweetener, but dates or coconut sugar are other great options to keep in mind.
- Don’t have coconut cream? Make your own from a can of coconut milk. If this is your first time making coconut milk from coconut cream, try buying different brands of full-fat coconut milk and see which one works best.
That’s about it for this recipe! I hope you’ll love this raw vegan mug as much as I did and, if you do, please share it with someone you love. Sharing is caring!
I’d appreciate if you could spare the time to leave a comment and a review below. I’m really curious to find out how you liked this raw vegan winter mug. Thanks!
What is your favorite healthy dessert? Would you try this one? Share in the comments.

3-Layer Raw Vegan Winter Mug
Ingredients
Bottom Layer
- frozen blueberries (as much as needed)
Middle Layer
- 1 can coconut cream (or coconut milk, 400 ml, full-fat)
- 2 tsp raw cacao powder
- 2 dried figs (cut in small pieces)
- 1/2 tsp vanilla powder (optional)
Top Layer
- shredded coconut (fresh, or coconut chips)
- hemp seeds (as needed)
- sunflower seeds (as needed)
- decorate with one hazelnut (on top)
Instructions
Bottom Layer
- For the bottom layer you’ll be using only frozen blueberries. Make sure to remove any excess water (if any) from the berries.
Middle Layer
- For the middle layer, you’ll have to prep the coconut-chocolate mousse yourself by following the steps below.
- In a medium sized bowl add coconut cream. If you want to learn how to make coconut cream from coconut milk, see the dedicated section from the article.
- Use a whisk (or even a fork) to whip the cream for 60-90 seconds until the cream expands (similar to how heavy cream expends when whipped). You can also use an electric mixer which will make the cream really smooth.
- Next, add cacao powder and incorporate it into the cream.
- You should end-up with a thick chocolate mousse that has a dark-brown color.
- Now it’s time to add the natural sweetener - for this recipe will be using dried figs cut in very small slices. Use a spatula to incorporate them into the mousse.
- Last, optionally add vanilla powder, mixing for 5-10 seconds in order to incorporate it.
- Your chocolate-coconut mousse is now ready! You can use it as is now or you can place it in the fridge to cool down and to let the flavors combine (30-60 minutes is ok).
Top Layer
- The top layer consists of raw ingredients: shredded coconut (alternatively use coconut chips), hemp seeds and sunflower seeds, plus one hazelnut for each serving. Easy enough, right?!
How to put it together
- For the bottom layer, fill 1/3 of a tall jar with frozen blueberries.
- For the middle layer, fill 1/3 of the jar with the coconut-chocolate mousse. Feel free to use as much as you need.
- Finish by adding all the ingredients for the top layer, as shown in my photo.
- That was it! You can enjoy it fresh or store it in the fridge for a few hours or overnight.











This little dessert sounds interesting and I’ll give it a try these days. Must say that I’ve tried a few other desserts from your website and they all turned out exactly as described.
Your website is highly appreciated in our home 🙂