JUMP TO
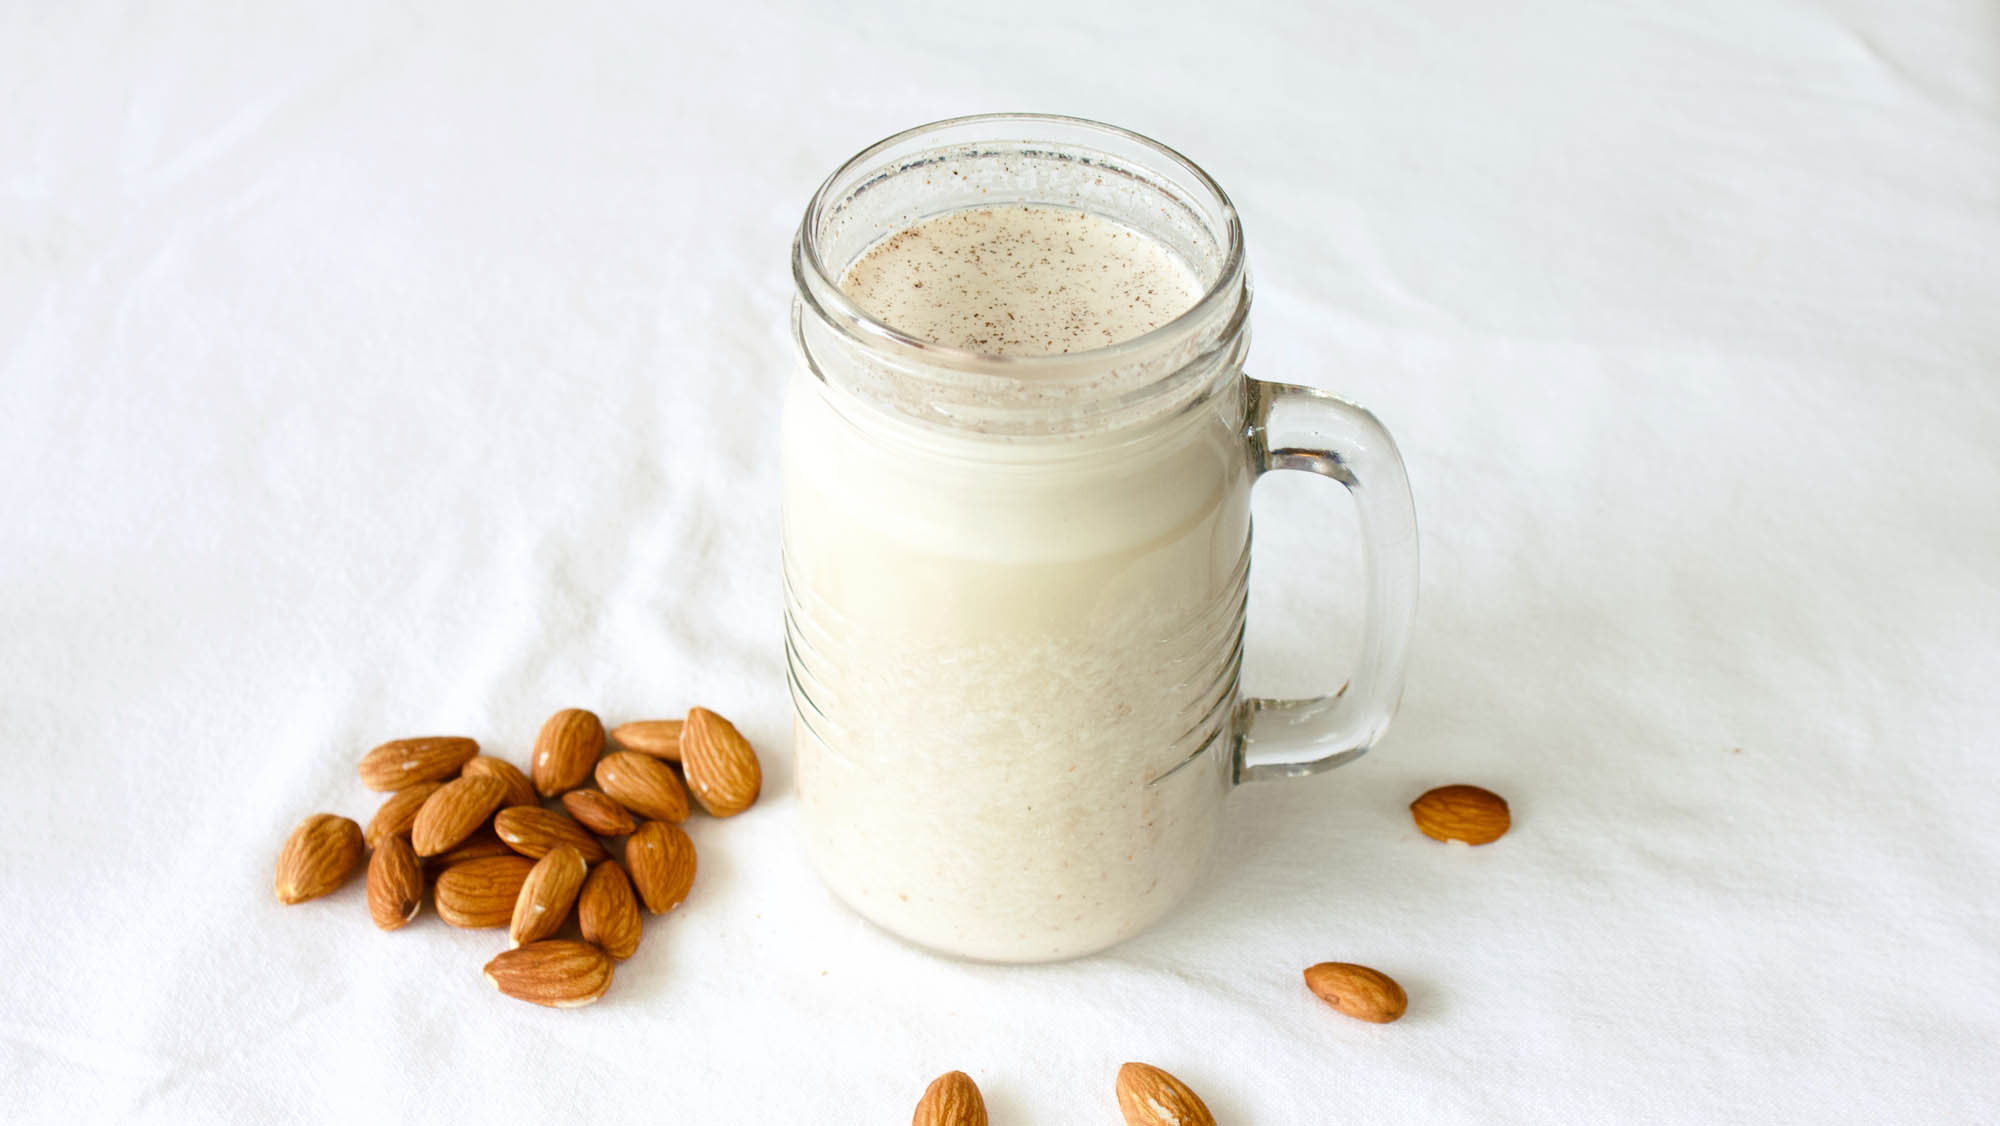
If you want to make your own almond milk but don’t know where to start, then this article is for you. This almond milk is made using real almonds, it’s fresh, has an amazing taste, and works great as a vegan replacement for regular milk.
Here are a few more reasons why you might want to make your own almond milk, instead of buying:
- the homemade version is healthier, since it contains only almonds and water
- it’s cheaper to make your own
- you control the ingredients (source, quantity) and the way the milk is prepared (what blender you use, how you soak the almonds, etc)
- you can use organic almonds if you want to
- you avoid additives, preservatives or fillers of any kind
- it’s fun to make
- make it a family experience – your kids will love it
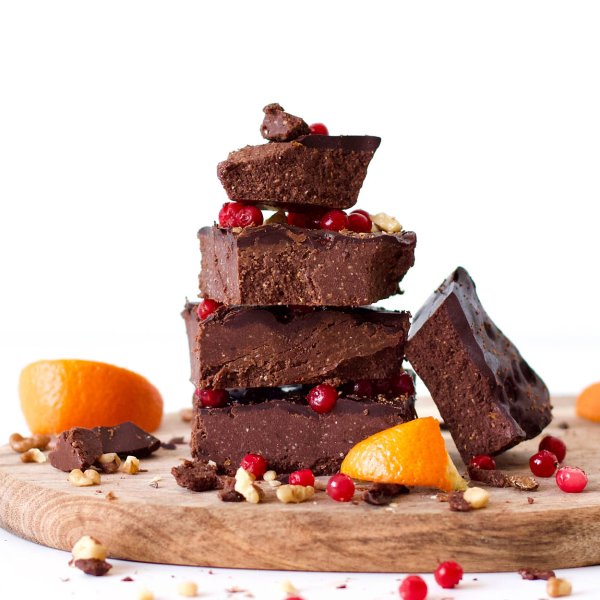
- hot cacao recipe: heat up one cup of almond milk, add 1 tsp cacao powder and voila!
This recipe is one of the easiest recipes on this website, if not the easiest. You only need 2 ingredients, almonds and plain water, and you need a blender to process the almonds. Since this is a beginner’s guide to making almond milk, I wanted to keep things simple without adding extra flavors. You can easily upgrade this recipes by adding a bit of vanilla powder (for more flavor), coconut sugar (to make it sweeter) or even cacao powder.

The total amount of water you’ll use will determine the thickness and creaminess of your milk. Less water will make for a creamy texture, while adding more water will lead to a thinner milk. The good news is that you don’t need an exact quantity; it’s best to start with less water and go from there, you can always add more water if you need to.
The process of making homemade almond milk is pretty straight forward. Here are the basic steps you need to follow:
- Soak the almonds for a few hours (use plain water at room temp and a bit of salt).
- After a few hours, remove the water and wash the almonds (options).
- Add almonds into blender. Add enough clean water to cover the almonds.
- Blend for 2-3 minutes or until the almonds have transformed into almond milk.
- Optionally strain the milk, removing the leftovers almonds.
Soaking the almonds in salty water will remove some of the anti-nutrients, making the almonds softer and easier to process. But to tell you the truth, it’s not the end of the world if you skip this step from time to time. Here are my rules:
- Are you making almond milk on a daily basis? Then it’s generally better (and healthier) to soak your almonds first, thus removing part of the anti-nutrients but also making them easier to blend.
- If you make almond milk once in a while, it’s safe to use the almonds un-soaked, if that’s what you want.
- Your blender isn’t the best when it comes to chopping hard stuff? Soaking the almonds will also make them softer, which means your blender will be more efficient (and less noisy).
I hope you’ll decide to try this out because it’s SO EASY to make and TASTY. If you try it, let me know how it turned out and what is your favorite way to serve it. Share a photo on Instagram, tag it #refreshmyhealth and I will follow-up with you. Enjoy!
Do you like almond milk? What’s your favorite way to use it? Have you made your own? Share below!

Easy Homemade Almond Milk
Equipment
- Blender or Kitchen Robot
Ingredients
- 250 g almonds (pre-soaked in water for 6-12 hours)
- water (cover the almonds)
Instructions
- Optional: You need to use almonds that were soaked in water prior to making the milk. Soak the almonds in salty water for at least 6 hours, making sure to throw away the water at the end of the soaking process.
- Add soaked almonds into your blender. Cover with fresh water.
- Blend on medium-high speed until you get a creamy white liquid.
- Congratulations, you've made your own almond milk.
- Optional: Remove the leftover almonds from your milk by straining the milk using a cheesecloth or a nut milk bag.


An easy and healthy way to make vegan milk if you’re lactose intolerant as I am. Thanks for all the healthy tips included in the post. Love!
This recipe for almond milk saved my life! I was searching for a quick way to do something healthy with all the almonds that I have stored in my pantry for ages …. Now I know what I’m putting in my coffee for the next week :))
I enjoy drinking plain almond milk and with coffee or tea, but never quite got to making my own. After reading your article I decided that maybe it’s time to start making almond milk at home. I will follow your recipe with ease. Thanks!